WHITE WINE INSTRUCTIONS
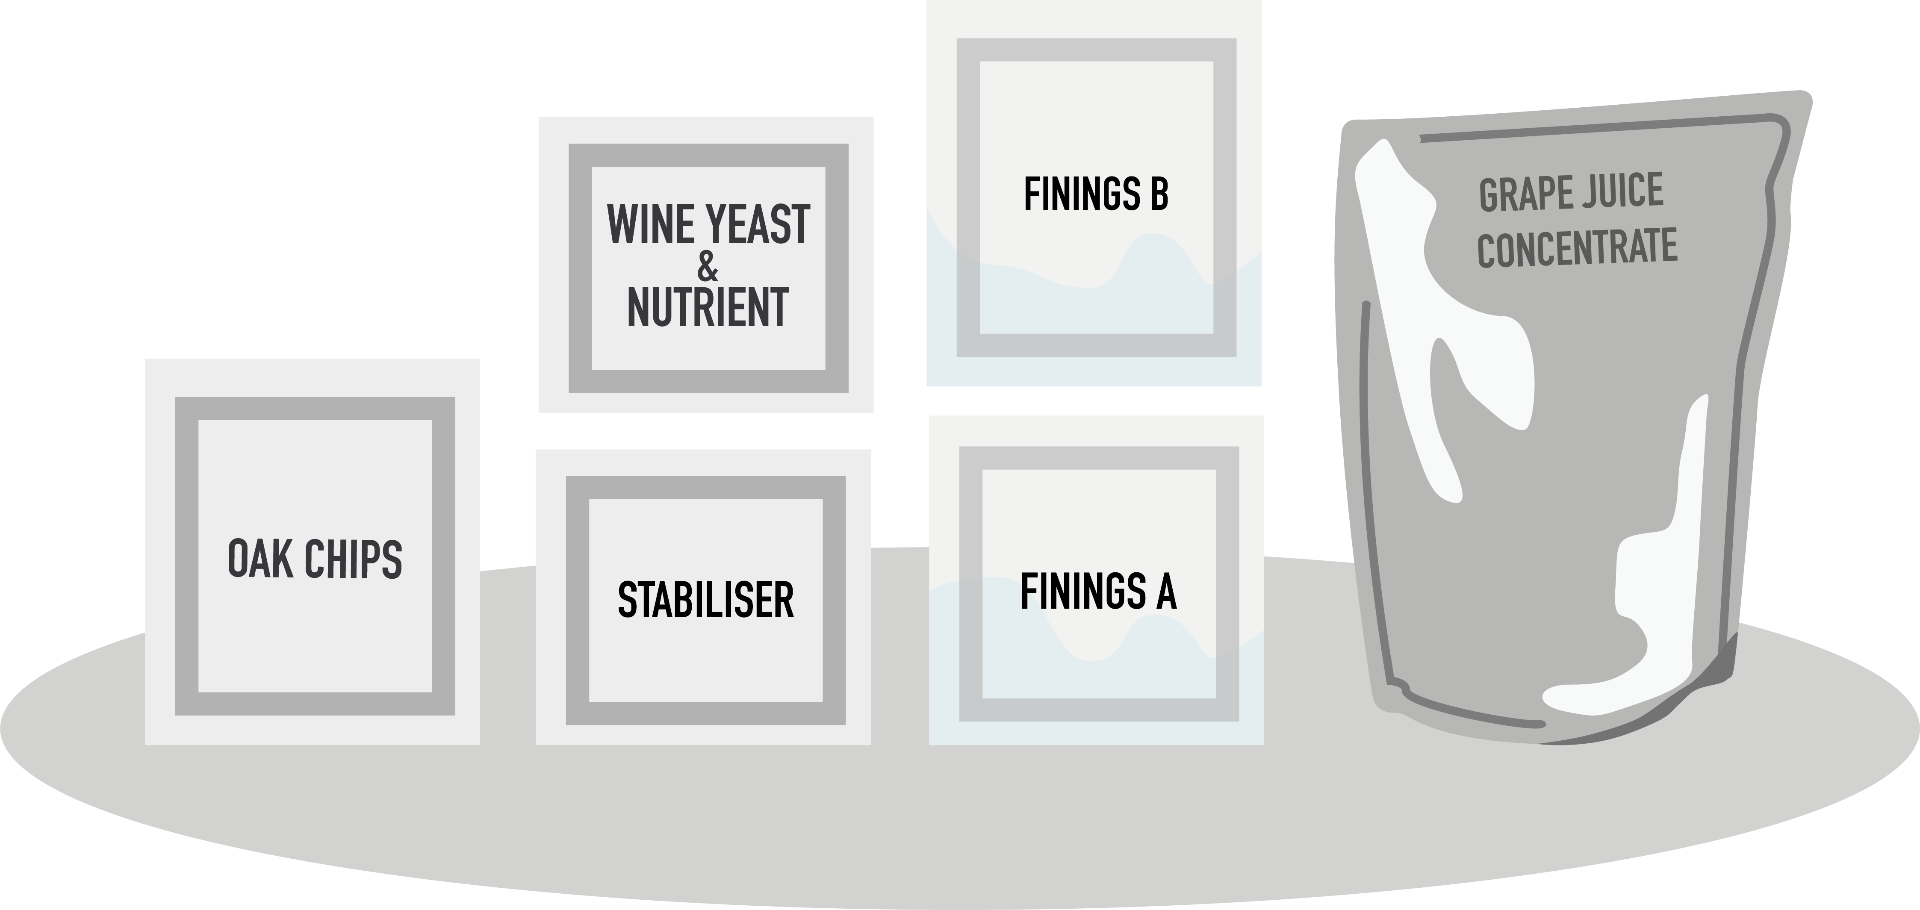
KIT INCLUDES:
- Grape Juice Concentrate Blend Pouch
- Wine Yeast & Nutrient Sachet
- Oak Chips Sachet
- Stabiliser Sachet
- Finings ‘A’ Sachet
- Finings ‘B’ Sachet
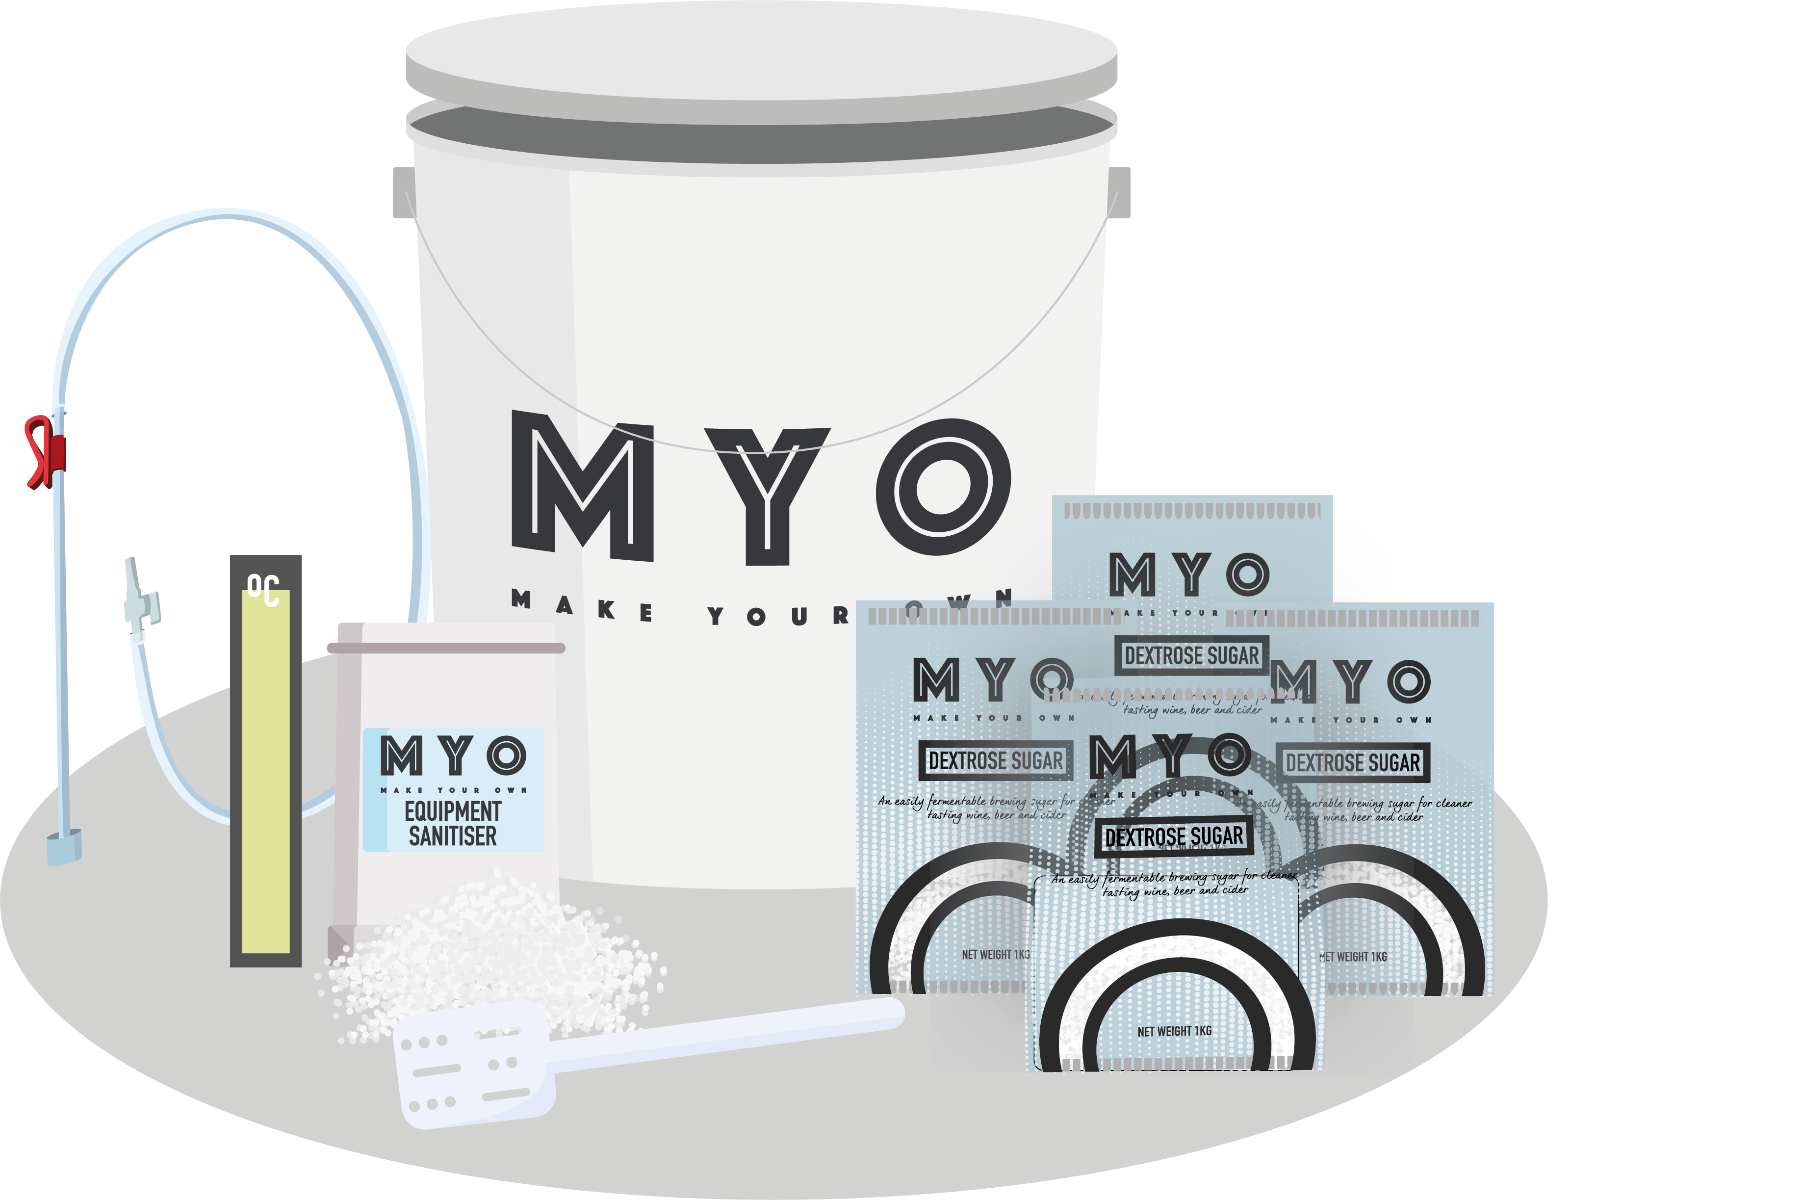
YOU WILL ALSO NEED:
- Fermentation Bucket (minimum 30L capacity)
- Thermometer Strip
- Siphon
- MYO Equipment Sanitiser
- Large Mixing Paddle
- 4kg Dextrose Sugar or 3.5kg Granulated Sugar
- An additional 150g Granulated Sugar
FOR BOTTLING:
- 30 x 750ml Wine Bottles
- 30 Corks & Corker / Screw Caps
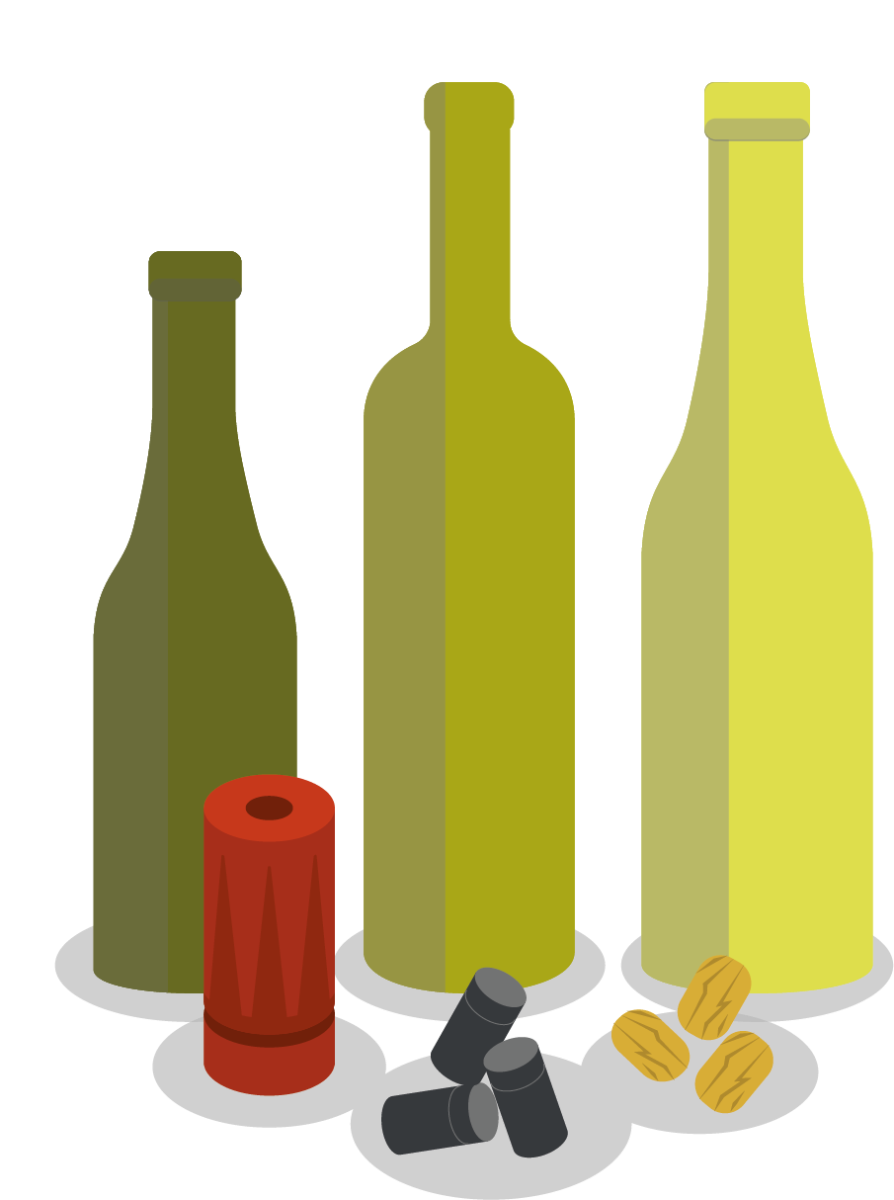
We like to promote recycling at every opportunity, so although you can buy MYO Wine Bottles, if you’re able to reuse your old empty wine bottles – as long as they’re unchipped and safe to use – please do so where possible, and if they came with screw caps, remember to keep them too.
1. Unbox all items from the kit. Note down your kit’s batch number found on the back of the carton, in case you need to contact us about it.
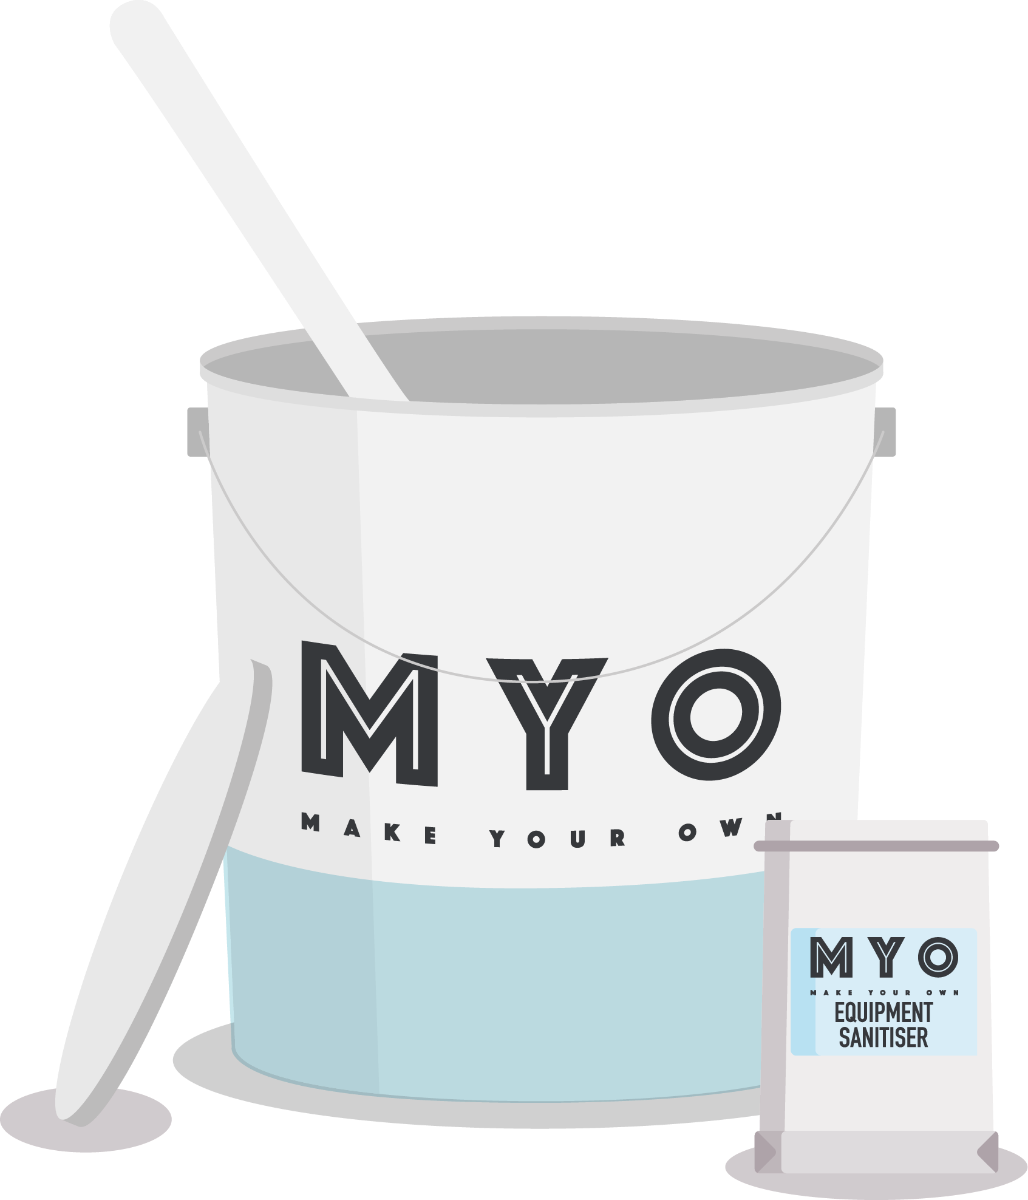
2. Clean and sanitise your Fermentation Bucket, lid and mixing paddle using MYO Equipment Sanitiser following the instructions on the packaging.
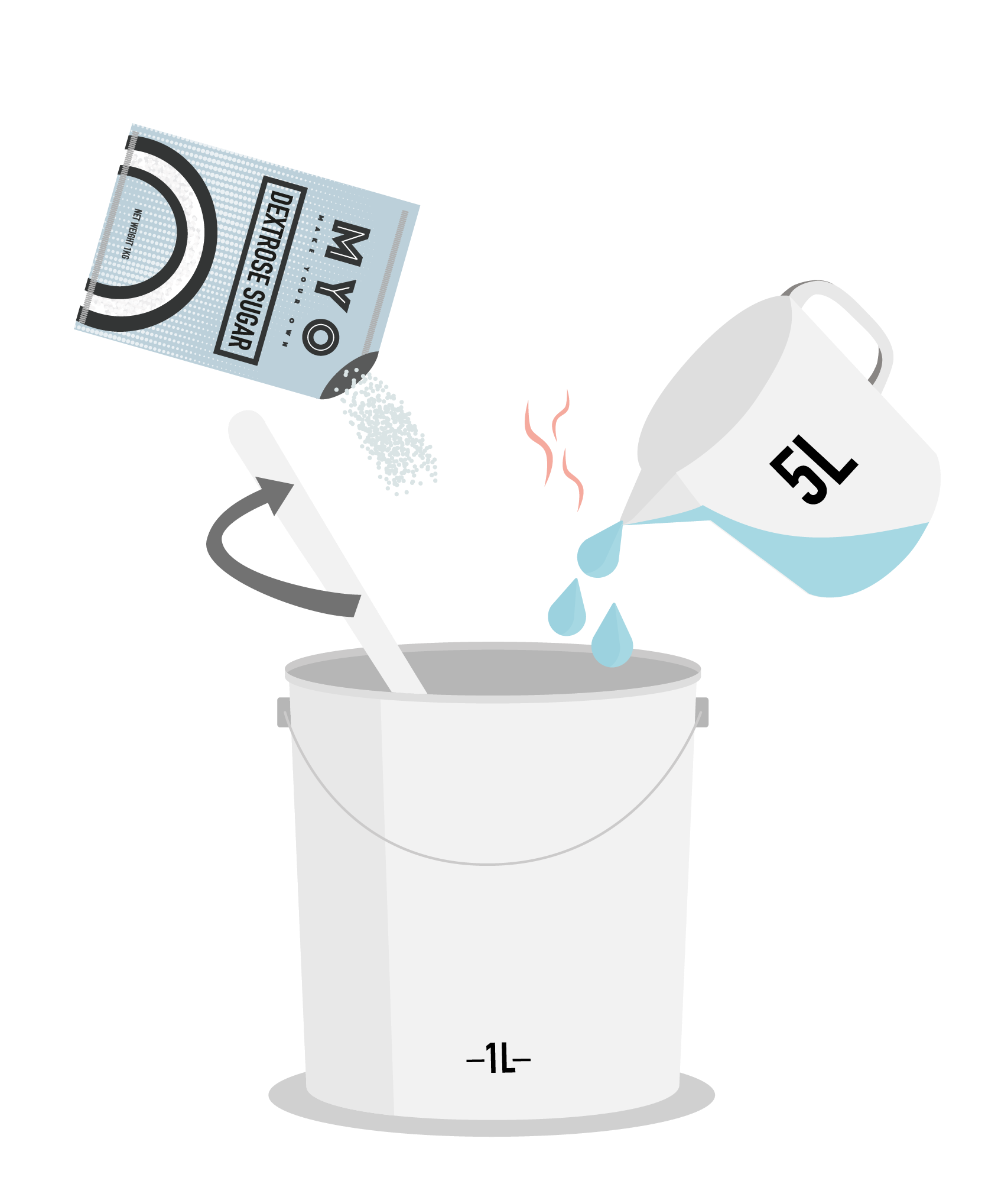
3. Pour 3.5kg granulated sugar or 4kg dextrose sugar into your bucket. Add 5L boiling water and stir to dissolve.
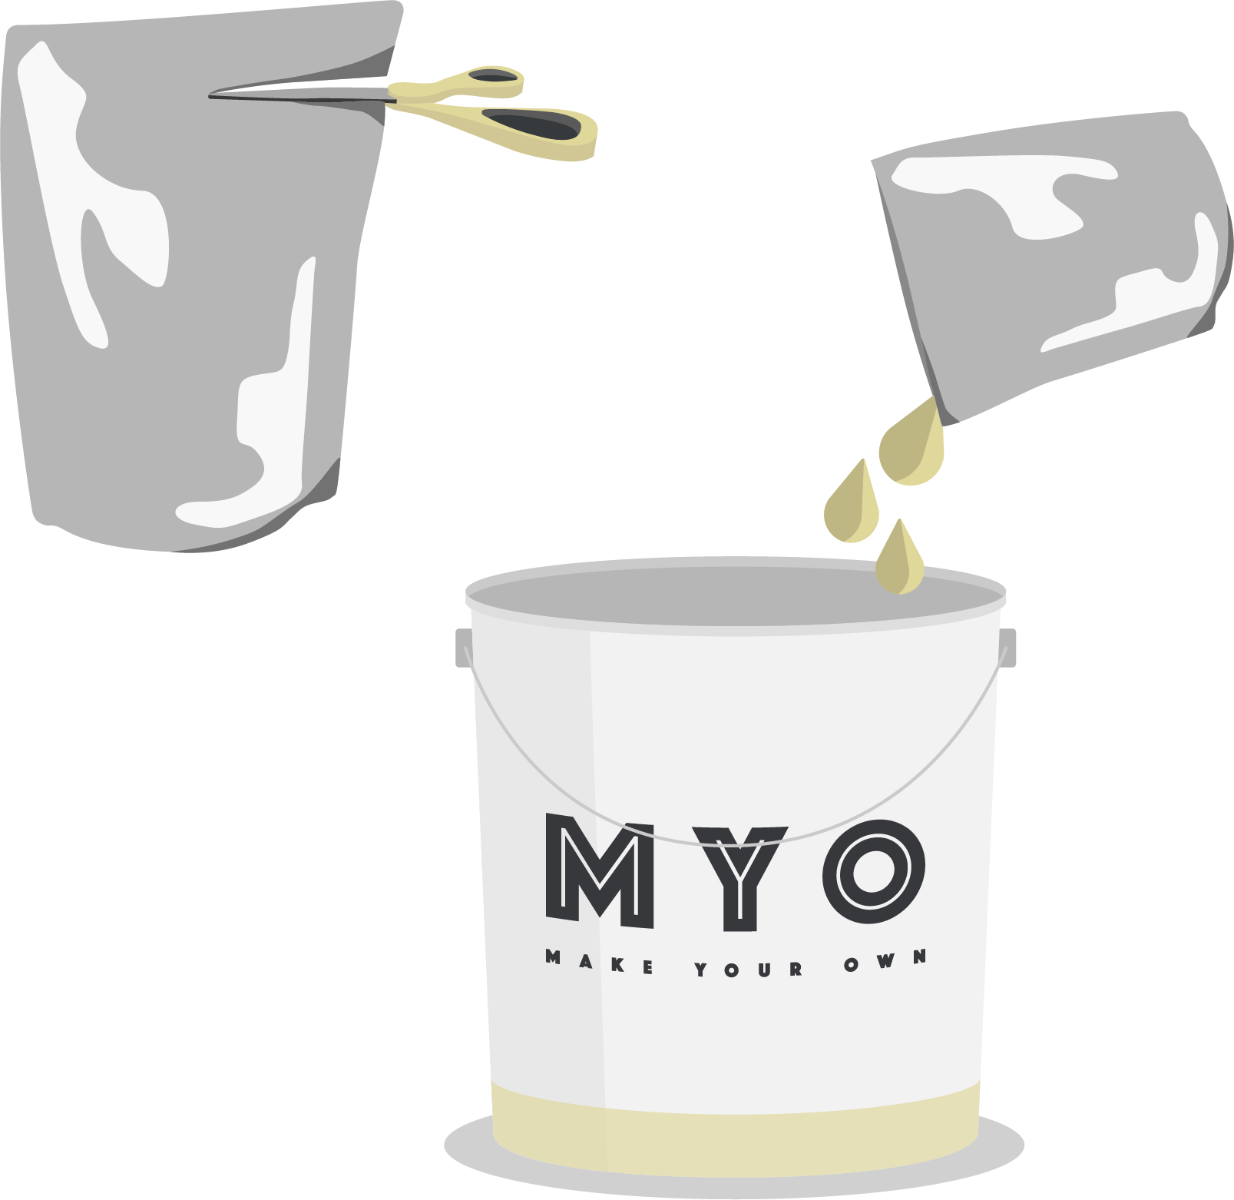
4. Cut open the Grape Juice Concentrate Blend pouch and pour contents into the Fermentation Bucket. Rinse the remains of the pouch out with a small amount of warm water. Stir well.
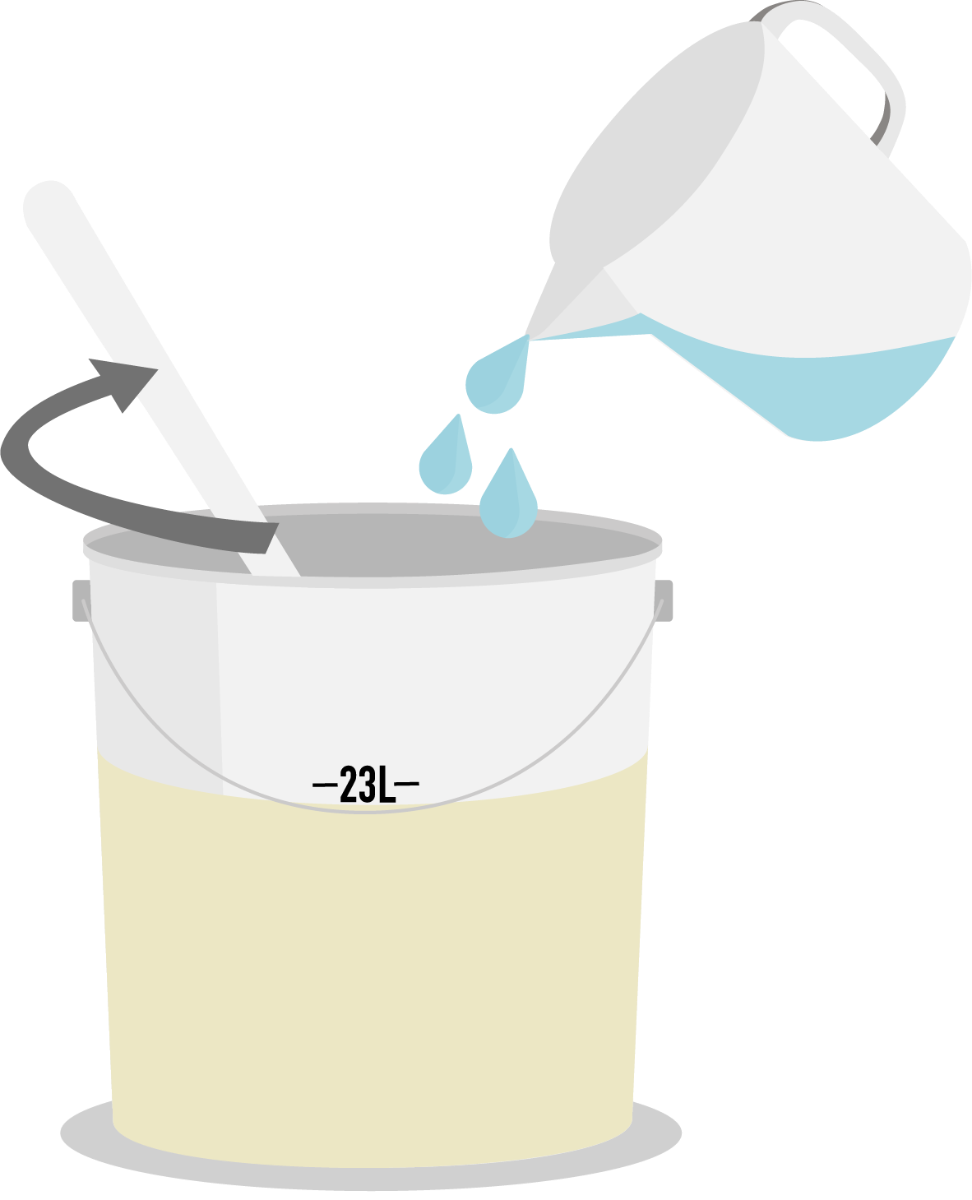
5. Top up to the 23L line marked on the Fermentation Bucket with cold water and stir.
6. Stick the Thermometer Strip to the side of the bucket where indicated. Make sure the area is dry first. Check the temperature is below 30°C.

7. When the temperature is below 30°C, sprinkle the contents of the Wine Yeast & Nutrient and Oak Chips sachets onto the surface of the liquid and stir. Do not add the Stabiliser or Finings sachets – keep safe as these will be used later.

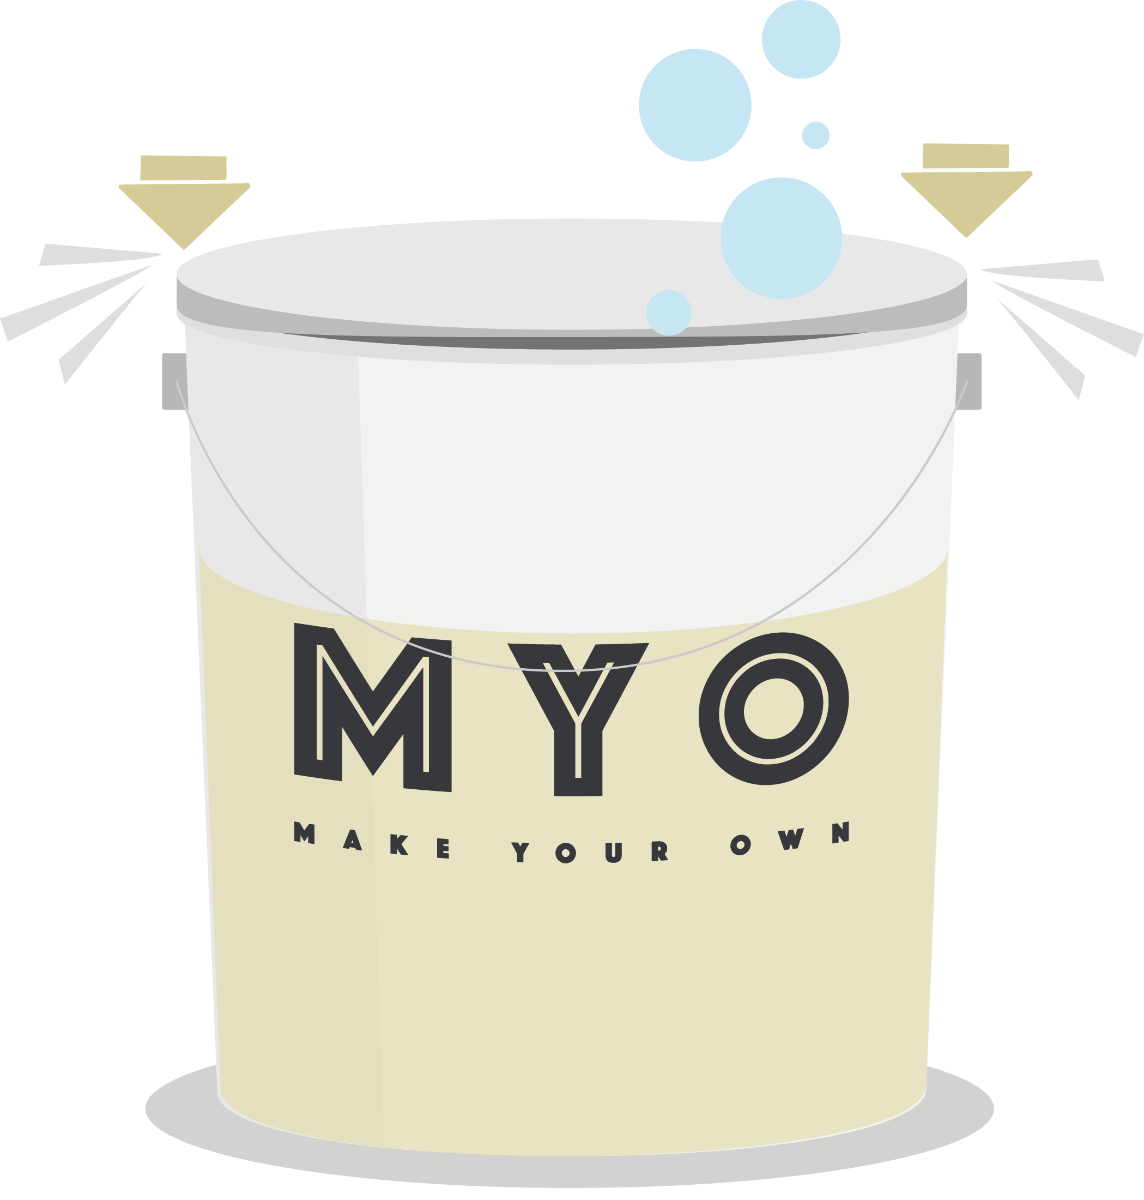
8. Fit the lid onto the bucket, ensuring it fits neatly on the rim but DO NOT click the seal all the way around, as CO2gas needs to escape during fermentation.
9. Place the bucket on a washable surface (in case of spillage). Ensure it is kept at a constant temperature between 20-25°C for at least 7 days. Fermentation will take longer below 20°C and the wine quality will be reduced above 25°C.
Don’t remove the lid at any point during these 7 days to avoid unnecessary contamination.

10. After 7 days of fermentation taste your wine. If it tastes completely dry, then continue to Step 11. If it tastes at all sweet then fermentation hasn’t finished – replace the lid (as per Step 8) and leave to ferment for a few more days, tasting each day until you’re sure it’s completely dry.
If you’re unsure, it’s better to wait until you are sure the wine tastes dry, before proceeding.
11. Once fermentation is complete, add the contents of the Stabiliser sachet to the wine and stir with your clean mixing paddle thoroughly for 30 seconds.

12. At this stage we recommend adding 150g granulated sugar to produce a ‘medium dry’ wine. However, if you prefer a drier wine add sugar in 30g increments, tasting after each addition to find the optimum sweetness for your taste. Alternatively, if you prefer a sweeter wine, continue to add sugar until it suits your taste. The wine should be stirred thoroughly after each addition until the sugar is fully dissolved.
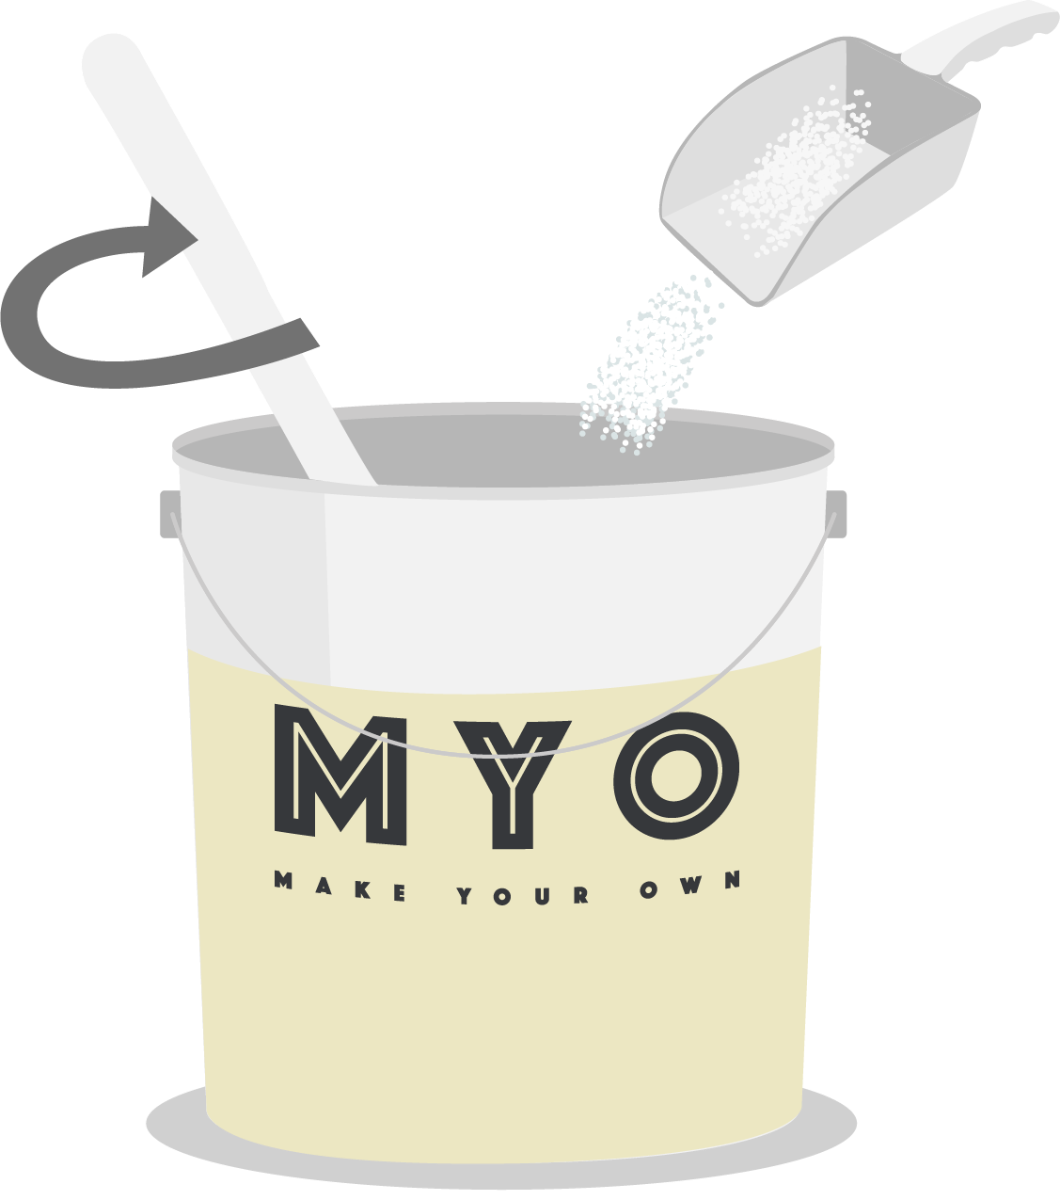
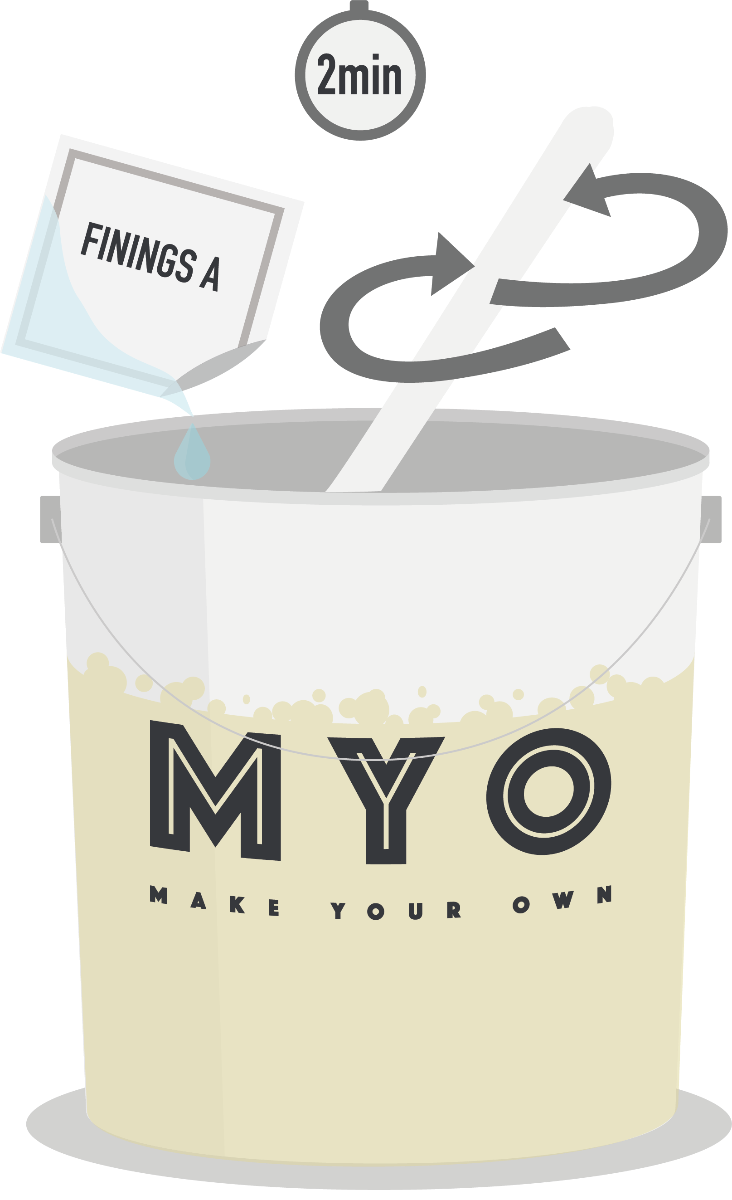
13. Add the contents of Finings A sachet to the wine and stir vigorously for 2 minutes (clockwise and counter-clockwise) to remove all gas from the liquid, before leaving to stand for approximately 1 hour. It is important the wine is thoroughly degassed at this stage otherwise the wine will take a long time to clear.
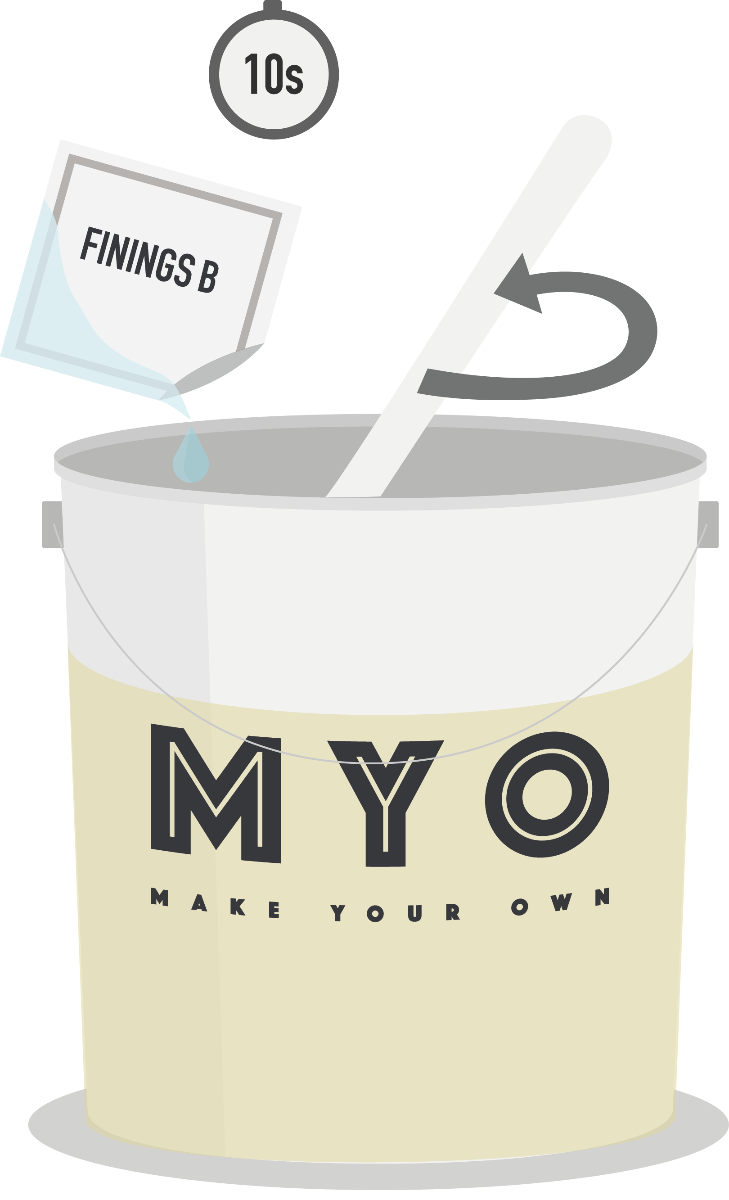
14. After approximately 1 hour add the contents of Finings B directly to the wine and stir gently for 10 seconds.
15. Leave your wine to clear (place on a raised surface for later siphoning), fit the lid neatly on the bucket but don’t click the seal all the way around. Clearing should take approximately 3 days if thoroughly degassed at Step 13.
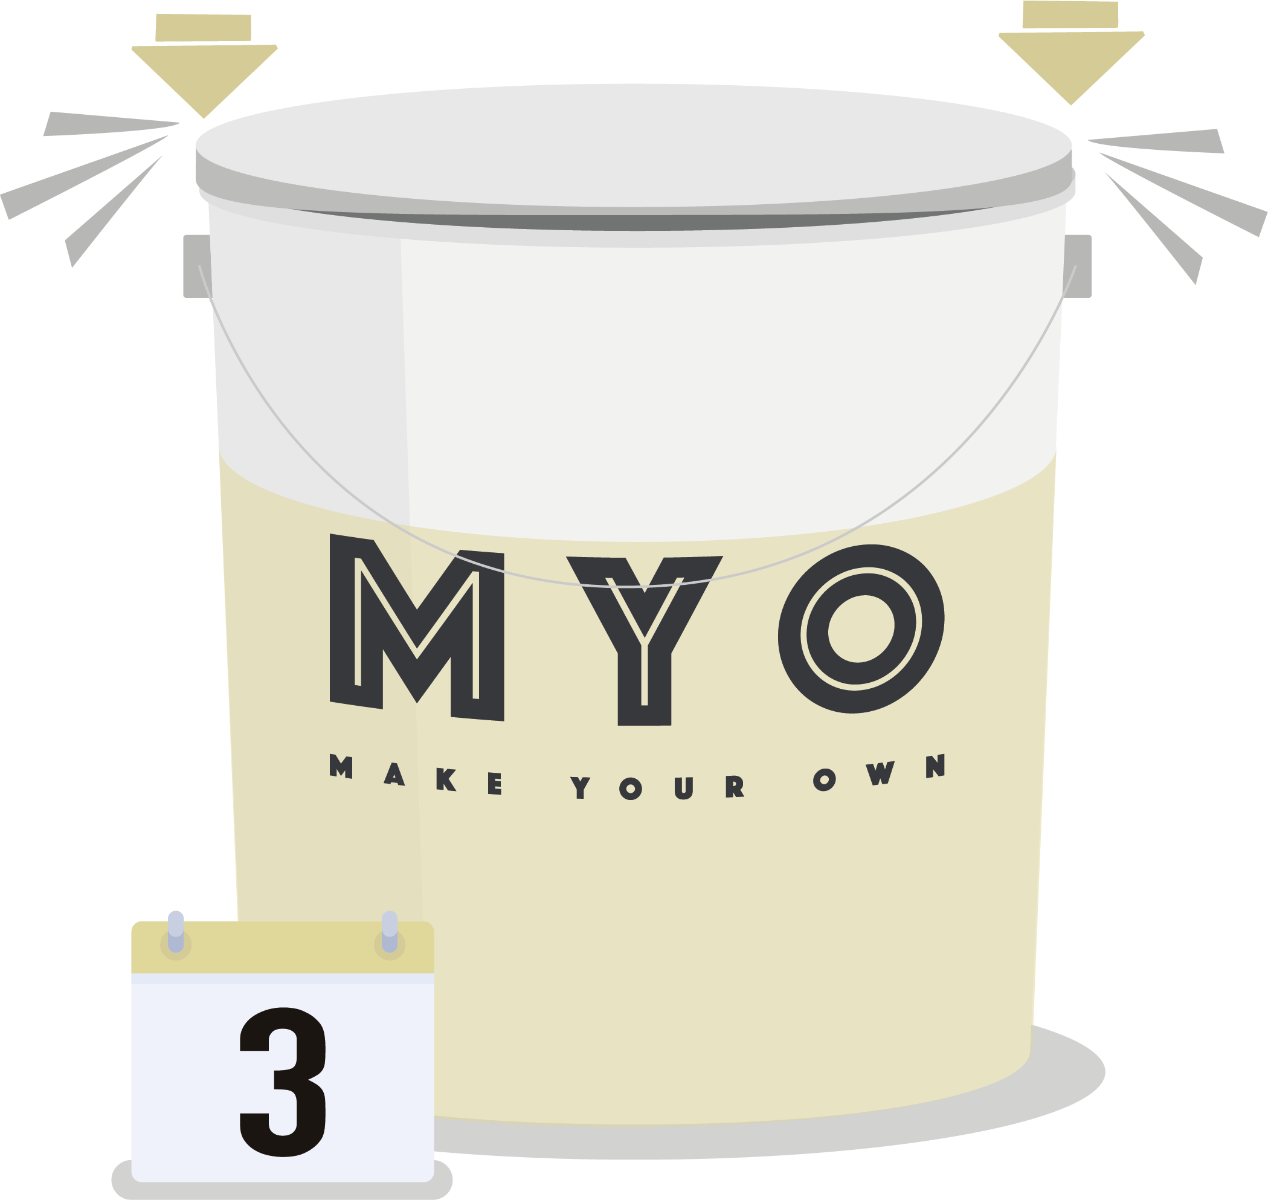
16. After 3 days, check the clarity of the wine by drawing a small amount from 3/4 way down the bucket using the siphon tube – the sample should be crystal clear when viewed in a wine glass. Do not proceed until you are sure the wine is completely clear.
Do not worry if the wine takes longer than 3 days to clear.
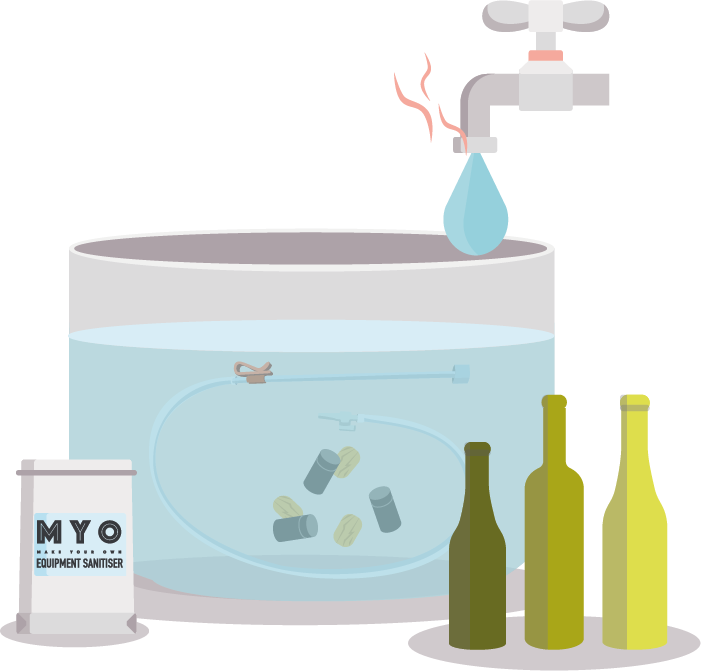
17. To assemble your siphon, run one end of the clear plastic tubing under a hot tap for 20 seconds, then push it about 1cm over the firm plastic tube. Repeat to the other end of the clear plastic tubing and push in the tap. Insert the sediment trap into the other end of the firm plastic tube. Attach the red clip to the firm plastic tube.

18. Once the wine is haze free, clean and sanitise your bottles, corks/screw caps and Siphon using MYO Equipment Sanitiser, following the instructions on the packaging.
19. Place the firm plastic tube end of the siphon into your wine, with the sediment trap sitting above the sediment. Hold the siphon in place by clipping the red clip onto the rim of the bucket.

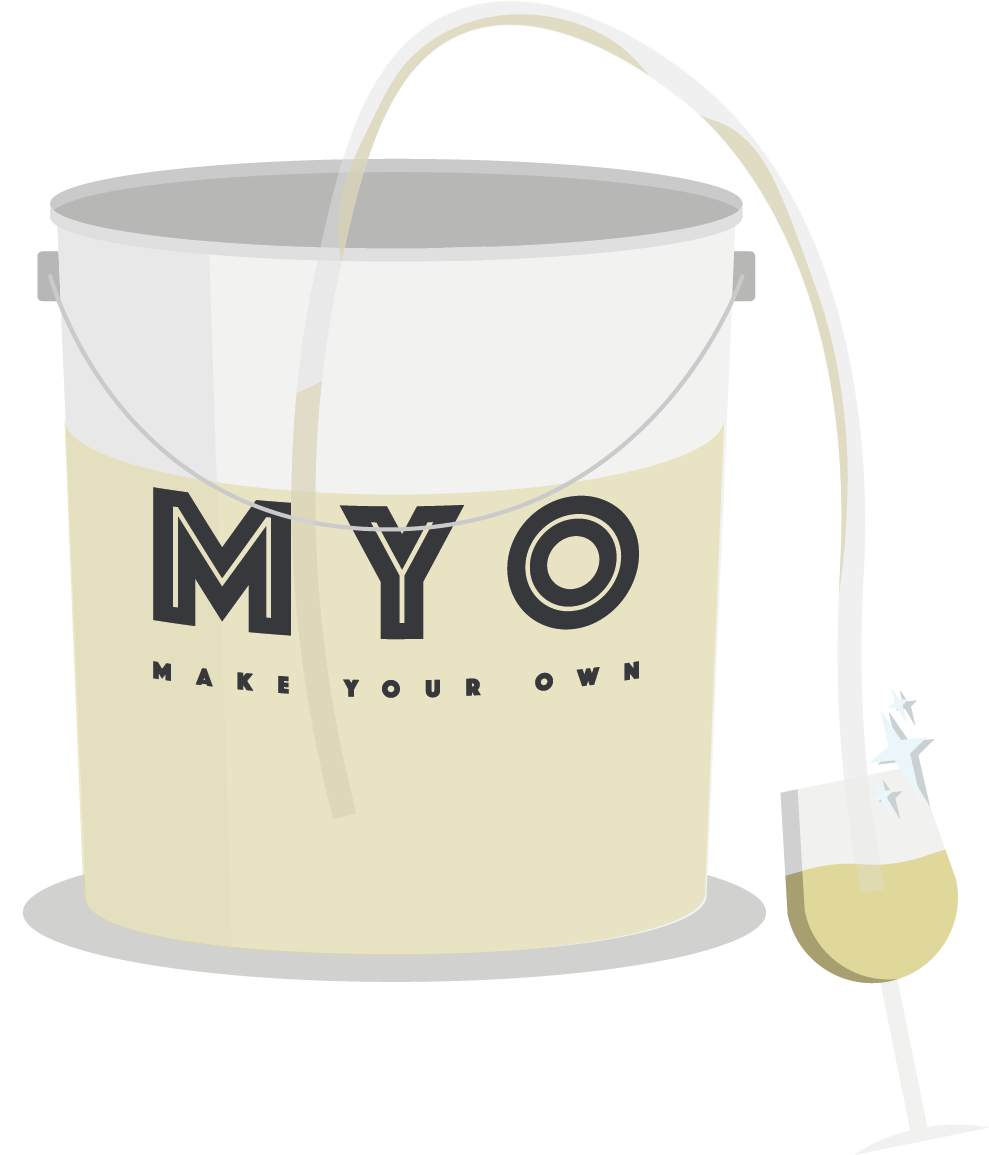
20. To siphon the wine from the bucket into the bottles, suck on the tap end of the Siphon to fill the tubing with wine. Then close the tap, place it in your first bottle (which should be at a lower level than your bucket) and open the tap to allow the wine to pour into your bottle. If done correctly, the flow of wine will now be continuous and will only stop each time you close the tap.
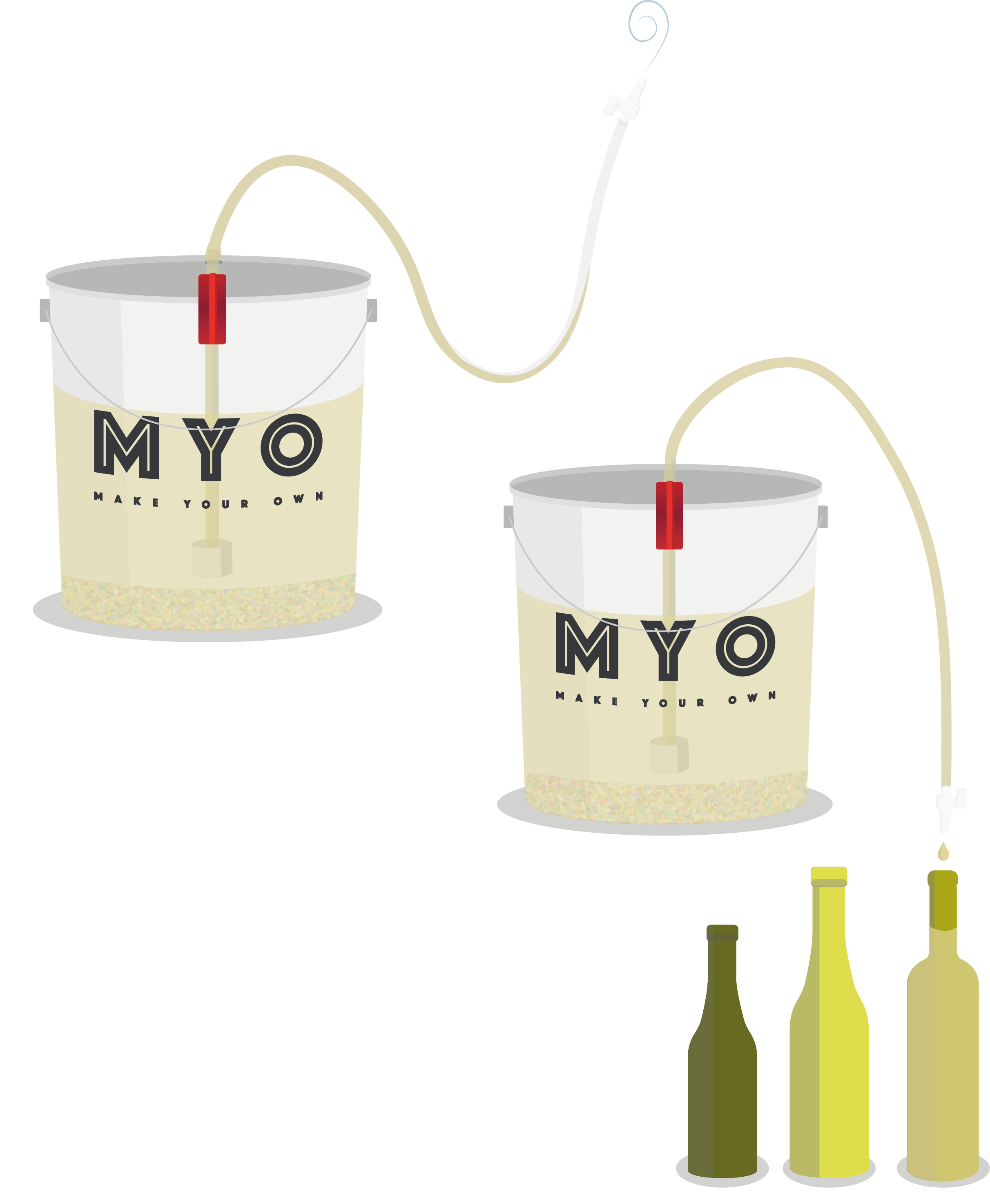
21. Fill all bottles, leaving sediment behind in the bucket. Stop at the neck of the bottle and seal with corks using a corker (such as MYO Hand Corker) or screw caps if using.

22. Your wine is now ready to drink but will significantly improve after 1-2 weeks and will continue to improve beyond this if stored in a cool, dark place. The perfect serving temperature for White wine is 8-12°C. Enjoy!

To enjoy at its best, open your wine within 12 months of making and store in a cool, dark place.
For Video Instructions, click here.
